Finally! It’s the time of the year when we all emerge from our wintery caverns to greet the bright sun of the warm spring season. From walks around the neighborhood to days at the park and even day trips to go hiking, it’s a welcome relief each year to be able to shed some of our layers and get back outside.
Fortunately (and unfortunately) this also signifies the start of the spring cleaning season, a time to look around our homes and take stock of what we can and should fix, be it by cleaning or throwing it away. This year, it seems everyone is taking spring cleaning to the next level in part due to the rise of Marie Kondo and her method of tidying up.
In makeover shows though, you rarely get to see how long it can take to clean up your home, especially considering that in the shows, people never have any other responsibilities like jobs or meetings or any social engagements to take care of. To help, we’ve created a guide to spring cleaning that takes a more reasonable approach: using an entire month. Each week, you’ll focus on a different thing, so that (hopefully) by the end of your month, you can take a deep breath and finally feel spacious and relieved inside and out. Here we go!
Week One: Declutter
The first step during the first seven days is to simply declutter in the most basic way possible. To do this, you can honestly just go through each room (maybe one or two a day/night depending on your schedule) and look for the most obviously unnecessary things you own. We’re talking pieces of clothing, stray golf balls, pens and pencils, knick-knacks you got on vacation ten years ago. Get anything you feel doesn’t belong and put it in a pile.
Then, you’ll go through each item and decide which new pile it should belong to. That’s right: more piles. These new piles will be organized to your liking, and you can use whatever works for you, but we recommend:
- Keep
- Toss
- Donate/Sell
Once everything is sorted through, you’re ready to move on to week two!
Week Two: Danger Zones
Your home’s Danger Zones or Hot Areas or Panic Rooms (actually, that’s a different thing) are the places where clutter tends to gravitate. Everyone has some part of their home like this, as if it’s an invisible magnet for useless junk. Think mud rooms or laundry rooms, where people are likely to simply toss off their clothes or shoes or keys or whatever and just leave it for next time. If you’re the main house caretaker, this area probably gives you something like a cluster headache once a week.
To fix these problem areas, and we mean really fix them, you’re going to need the whole family’s help. The reason everyone has these clutter magnets is that the whole team quietly uses them to feed their laziness. You can clean the area, but that’s only half the battle.
You’re also going to need to figure out new systems to keep it all in check. This could mean boxes for keys and wallets, hooks for coats and backpacks, or a small bench for shoes. If you don’t feel like buying new things, there are other solutions like developing new habits to put things away instead of leaving them all over the place.
Week Three: Dark Secrets
It’s okay. Breathe. Everyone has their secrets. And we’re not talking about your actual secrets; we’re talking about your clutter secrets. Like Monica’s closet in Friends, everyone has a place they keep all the things they need to organize but haven’t gotten around to. This is what week three is for. It’s a hard one, but an important one.
This doesn’t just include the coat closet that you’ve filled with boxes (because who has coats big enough to need their own separate closet in Oklahoma?), but also drawers and cabinets and even under your bed. You’ll probably want to use an entire day of this week on the kitchen, removing everything from each drawer and making sure you need it before returning it to its place.
For this, you’ll have to bring the old piles back out and decide where everything goes once it’s out of the house, but we promise, you’re going to feel so good when it’s all said and done.
Week Four: Sparkly Clean
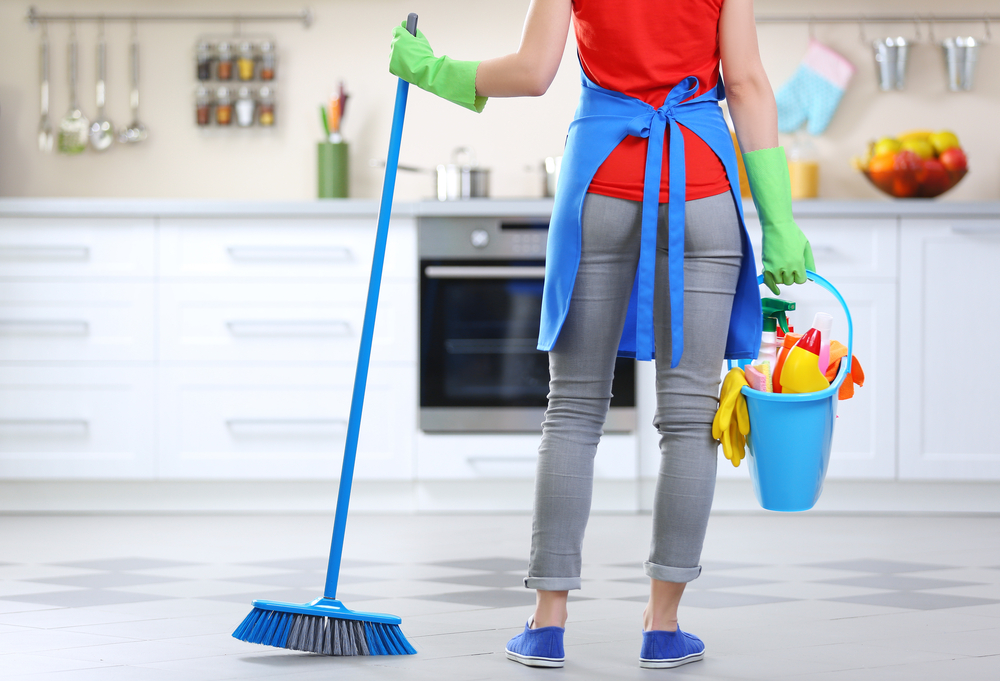
Once you’ve gotten all that pesky clutter out of every nook and cranny of your beloved home, it’s time to actually clean. It’s tempting after each step to do a full, deep clean, and you should obviously dust and wipe down things along the way, but you should save the majority of your elbow grease for the end.
Now is the time for wiping down surfaces, dusting your shelves and cabinets, vacuuming every corner, and mopping your floors. This step is extremely rewarding, as once you finish, you get to look around and actually feel clean, knowing that under every object and within each drawer, it’s just as clean as it looks on the outside.
If you’re tired after the first three weeks, you can always bail on this last one and contact us to do the dirty work for you! We’re ready and willing to clean up your mess, from the outer surfaces to the dirtiest parts!
Contact us whenever you need cleaning help, and download our free ebook below to learn how to avoid common allergens this spring!


